Set up a project
Invite translators
Invite teammates by email and choose the role each person needs.
Project owners manage invitations and membership. An invited person accepts the email link, signs in with the invited address, and then appears in the project with the role selected by the owner.
Choose a role
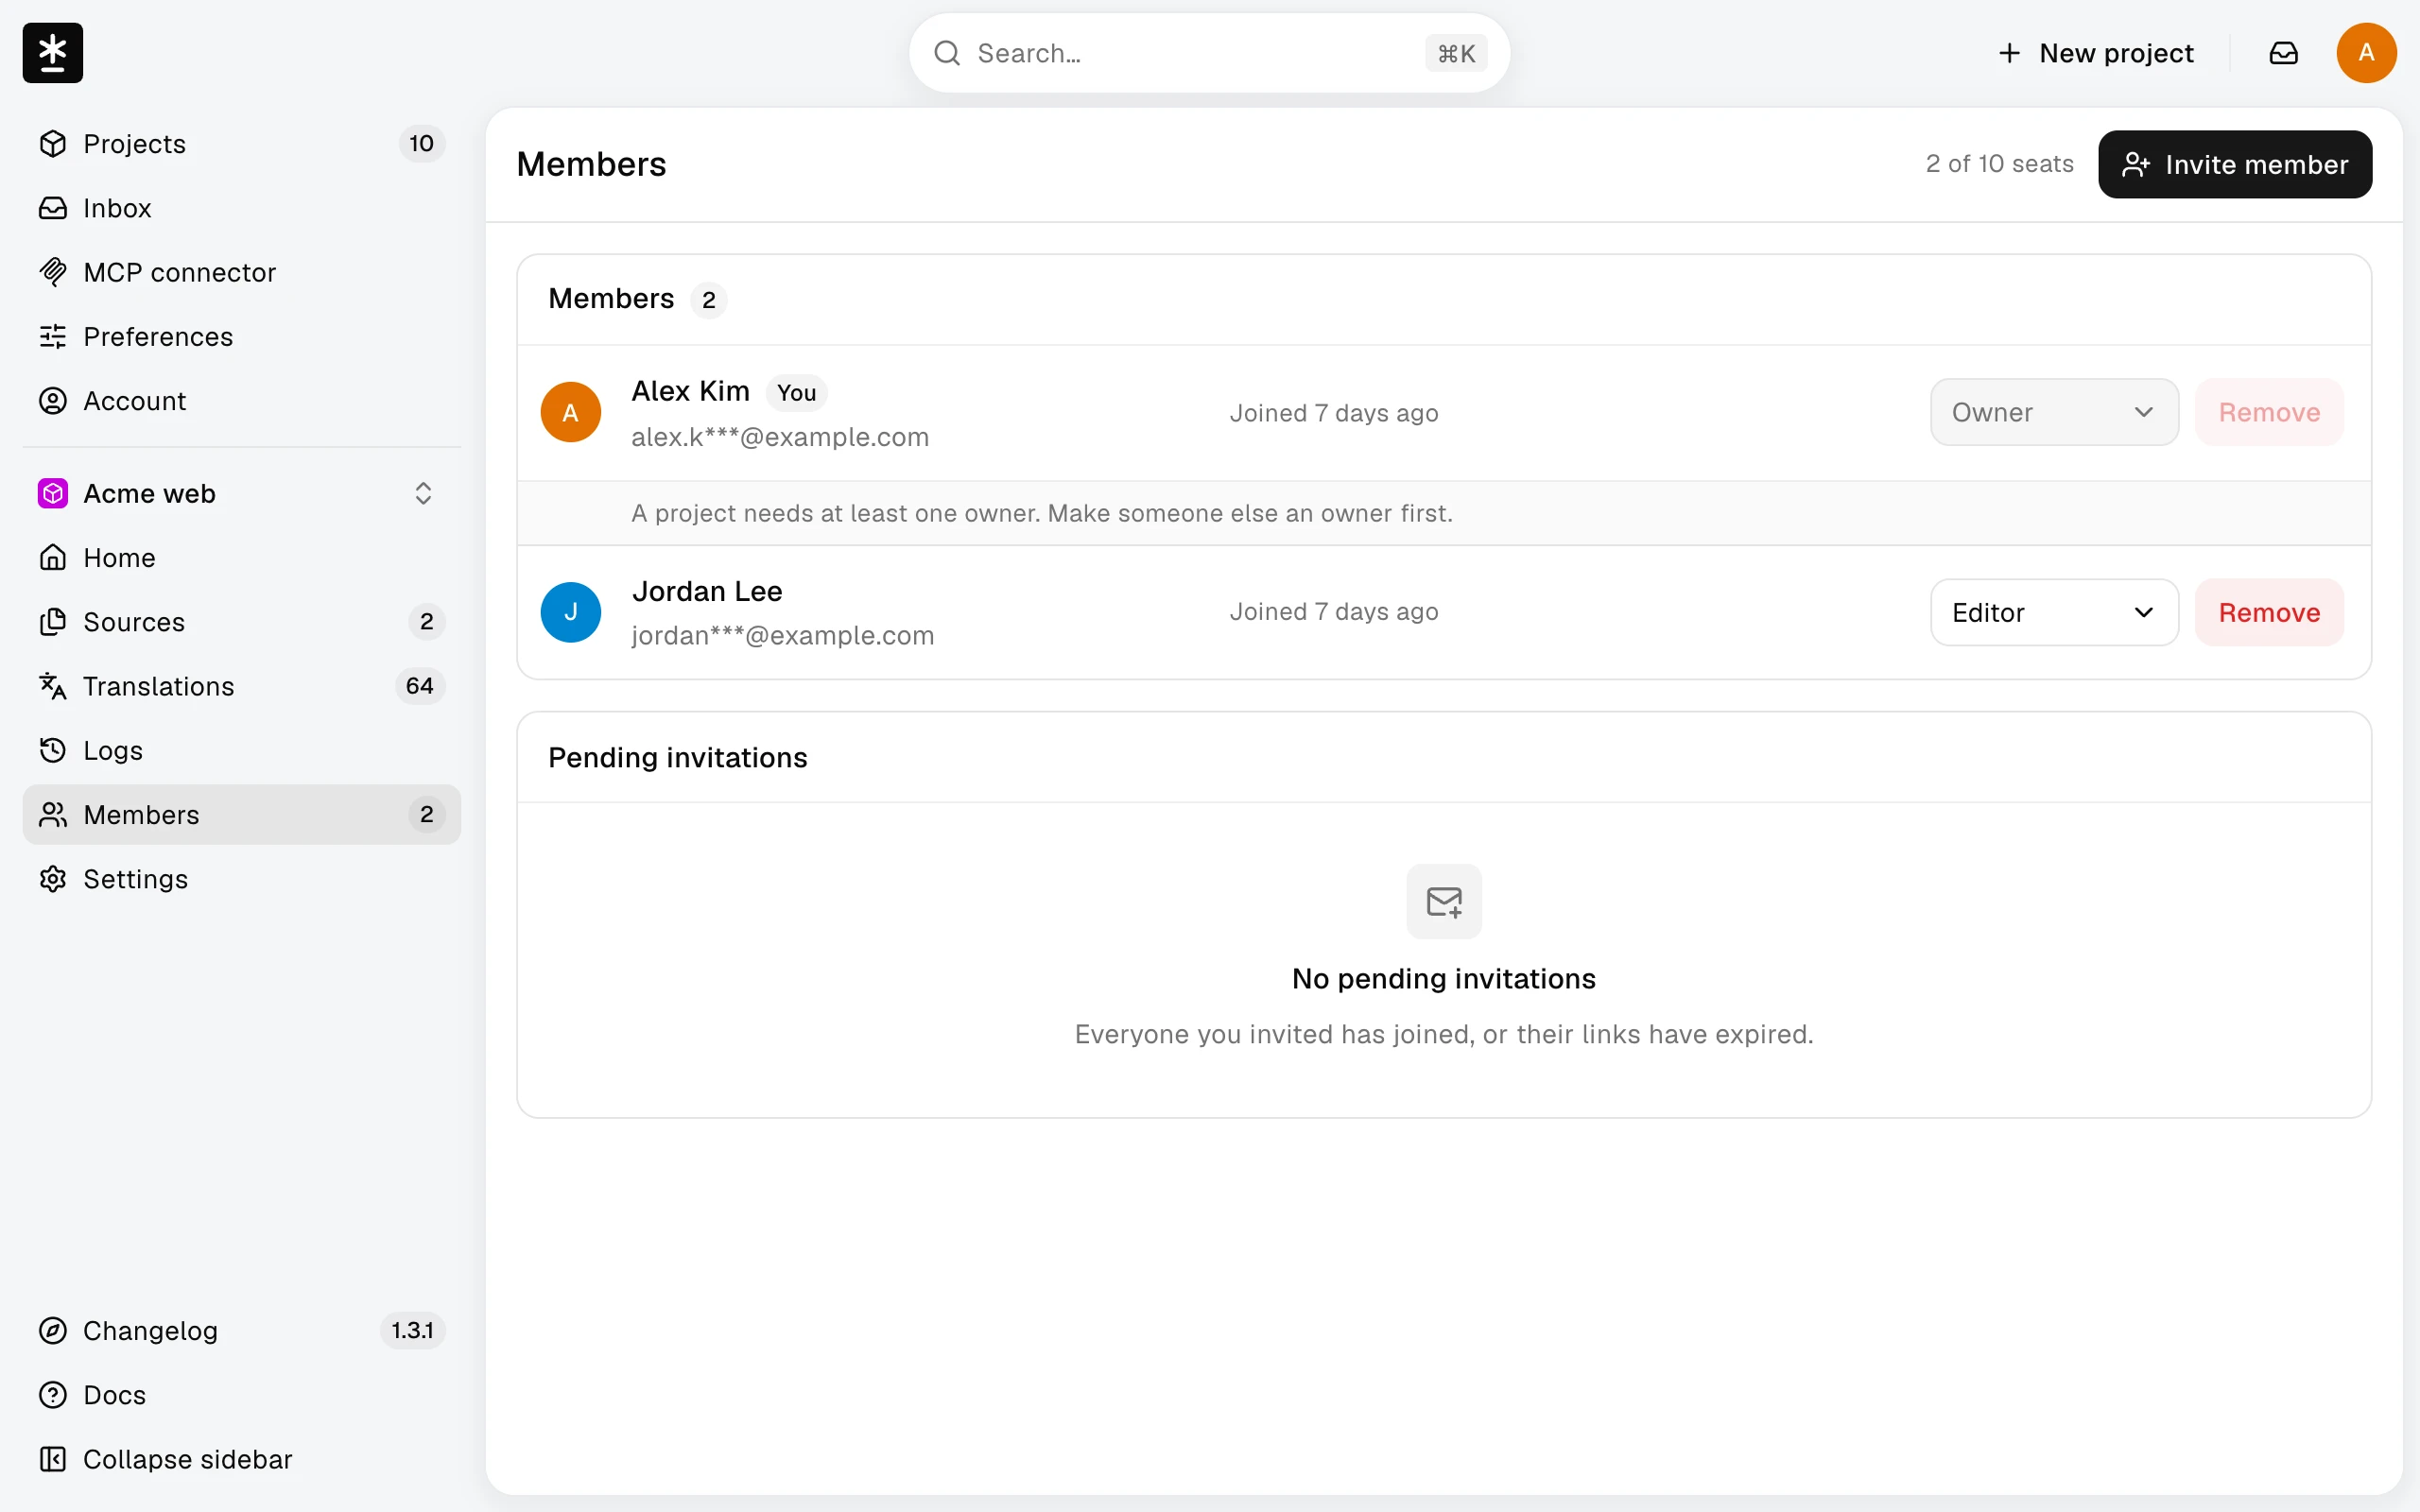
Choose Owner only for someone who should manage the repository connection, Sources, members, archive state, Sync, or Revert to last sent. Choose Editor for translators who need to edit translations and Publish. The final Owner cannot be removed or demoted.
Send invitations
- Open Members.
- Choose Invite member.
- Enter addresses and choose a role for each row.
- Send the invitations.
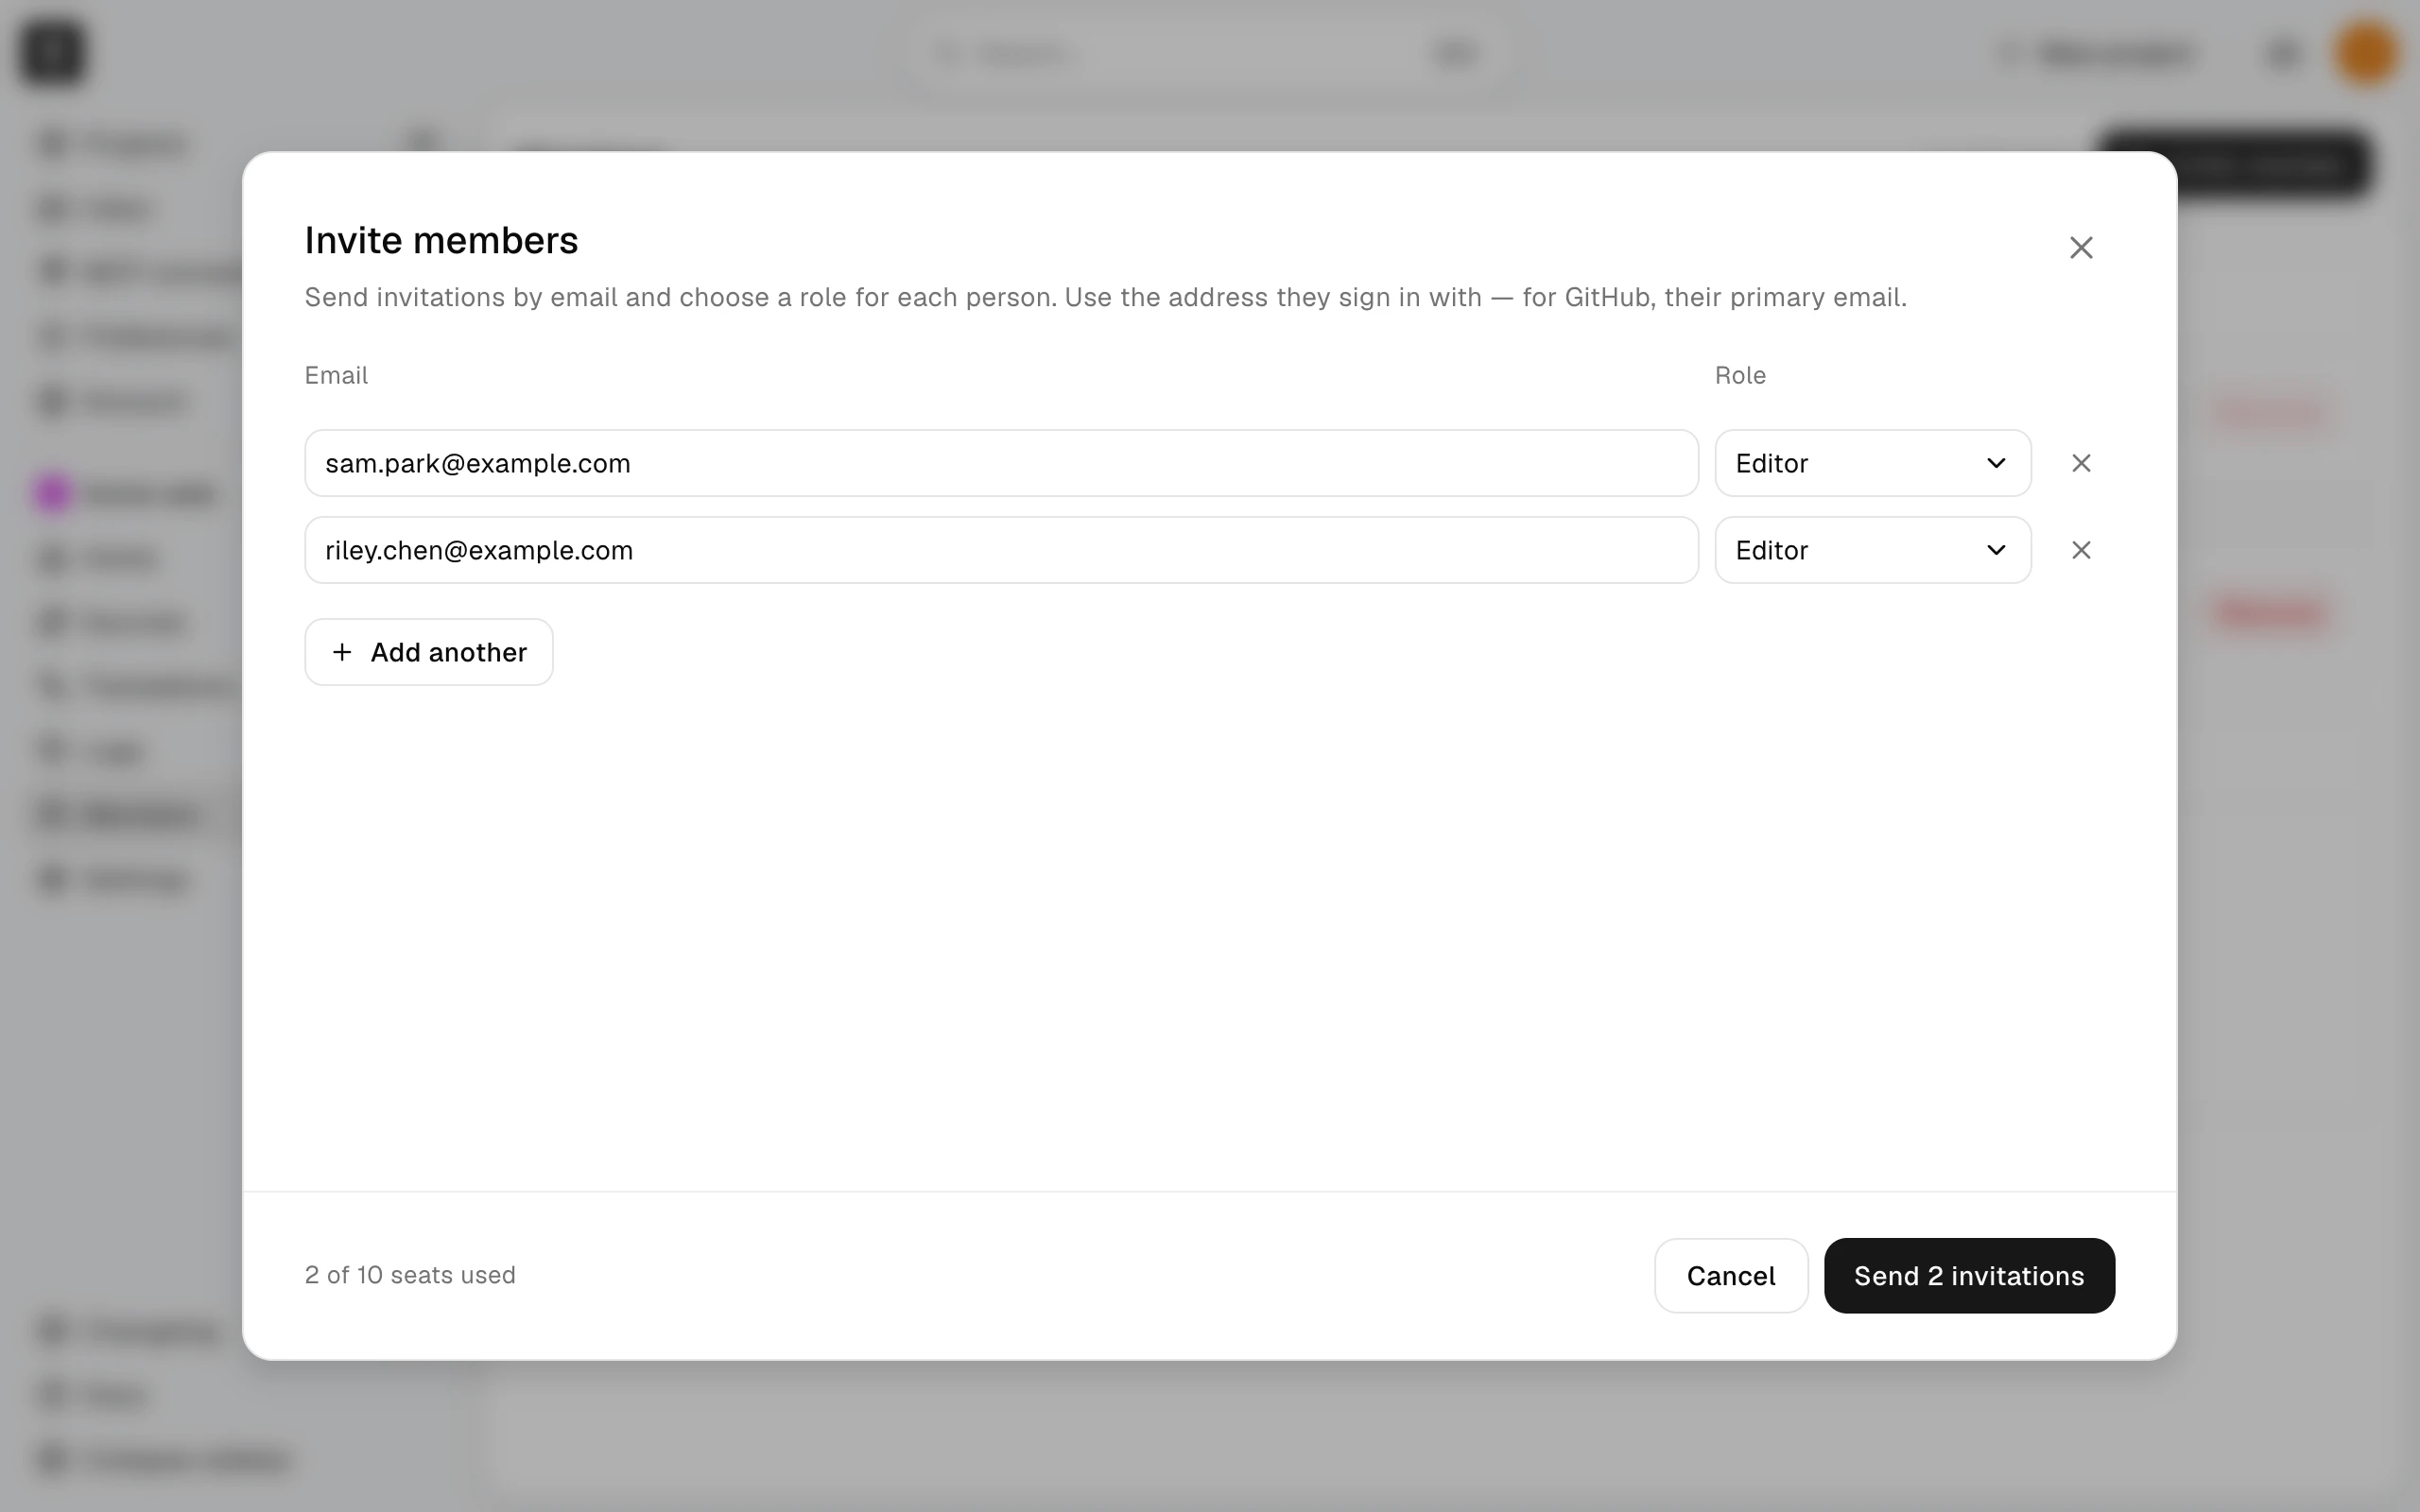
If any address would exceed a limit, no invitations are sent. A failed email still counts toward the hourly limit.
Each address appears under Pending invitations after the invitation is created. Check the sending result before closing the invitation dialog; a listed invitation does not by itself mean the email arrived.
Manage members
Project owners can change a member's role, choose Remove for a member, or manage Pending invitations with Revoke and Resend. A pending invitation's role cannot change; revoke it and invite the address again. See Join a project for the recipient's steps.
What happens next
The recipient follows the invitation link and signs in with the invited address.